Dear Readers,
I just thought I would create a small quick and easy way to use and create torrents and upload them onto the tracker so in the future hopefully people can just read this and not create threads/ post questions in regards to this.. So quite possibly this could be stickied or something of that matter as I know if put in a thread and posts pile up, no one bothers to backtrack and read previous posts.
How to Torrent (Brief Overview):
Okay, so this is going to be very brief.
Most likely those that say, "I can't torrent" just don't know how (Cause I'm sure even on Campus (College) you can bypass it), but anyway, most of the time the reason you 'can't' is probably because you aren't aware as to how to port forward your Torrent Client to your router (As most DIRECT line connections shouldn't have any problems, I dunno as I use a Router).
For starters, if using uTorrent, best to use the provided Speed Guide and select your Upload speed, and if yours isn't listed pick the closest one (Lower) not the next closest (Highest), OR you can visit Here for more specific settings.
On to port forwarding, you can click Here, and search for your router, I'll use mine for example sake, I have a Here, and that is preselected for uTorrent, but it doesn't matter much.
Almost forgot to mention... If you aren't aware as to how to access your router, might need to google, for Linksys it would be 192.168.1.1, some are 192.168.1.0, just need to google your Routers Company for it.
The link provides the necessary screenshots for a better walk-through, and if you use another torrent client, that's fine, as it still is the same of looking for the Port Number.
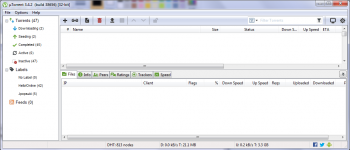
Afterward, when completed, your ports should be properly forwarded, and you can easily check through uTorrent by clicking on the icon on the bottom of uTorrent, which if right should be a green check mark, and if bad will either be a Red Exclamation Mark or a yellow Questions Mark.
-----
Program Used:
-uTorrent
PS: Note if using BitComet/ Vuze there is a Torrent Creator with those but I am not experienced for those so I don't have any input but should work about the same.
Creating a Torrent:
1. Go to 'File -> Create New Torrent', Click 'Add File' and locate the file you would like to create a Torrent for then Double Click / Open.
2. Under the Tracker Box, input any tracker (Best to input just ONE) you would like, as H!O changes the tracker anyway, so it doesn't matter.
3. After you finish that click on 'Create and save as...'
Creating a BATCHED Torrent:
1. Go to 'File -> Create New Torrent', Click 'Add directory'
2. Go to the Folder that you would like to Batch and then Select Folder.
3. Under the Tracker Box, input any tracker you would like, as H!O changes the tracker anyway, so it doesn't matter.
4. After you finish that click on 'Create and save as...'
Uploading Torrent onto H!O Tracker:
-Firstly, access the Upload Torrent page which is located under Tracker -> Upload.
1. This can be done either First (If you aren't going to add ScreenShots) or Last (If you are going to post ScreenShots) as if you add ScreenShots it will clear the field. In this field you locate the .torrent that you created earlier (Usually in same folder as the File you're going to upload).
2. Enter the Torrent name that you would like Displayed to the public (No need to add the Extension {.avi/.mp4/.iso/.mpeg/.ts/.etc})
-
3. If you plan on adding ScreenShots click on 'Add ScreenShots' and you can load up to 8 Pictures.
-Steps to making ScreenShots (Using Media Player Classic: Home Cinema):
- Open the video with MPC-HC and click on "File -> Save Thumbnails..."
- This will open up different options that can you change (Save type / resolution / amount of screenshots), name it whatever you'd like and then click on "Save"
- Alright now you can go back to H!O and 'Browse' to your ScreenShots that you just made, when ready click on 'Add' which will take you back to the Upload Page.
4. You can enter anything you would like into the description field as it is only a place for you to put in any information you would like. It is okay to leave it blank if you'd like but generally it is better to include some sort of description about the file you are uploading.
5. Click on the "Type Menu" and click on the "Type" that is best closest to your upload.
*NOTE* If it is something subtitled, be sure to Tick on 'Subtitle'.
6. Choice of "H!P" / "AKB48" / "adds", select whichever is relevant to your upload.
"If the "release date" of the file(s) is older than 3 months, the torrent should be posted on the "adds" tracker."
7. Once you are ready then click on "Upload" and presto you are nearly finished.
A screen will come up asking if you want to return to the tracker page or to view torrent details (Click on "View torrent details")
How To Seed Newly Added File:
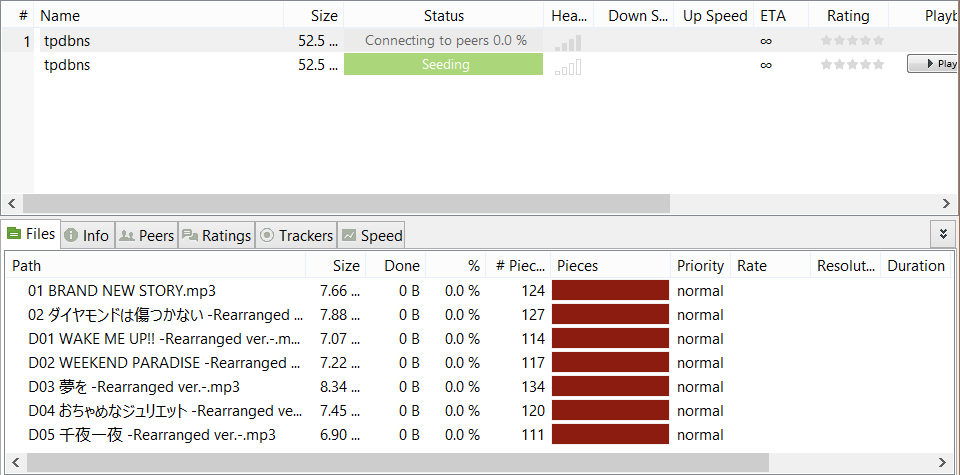
1. Download your torrent like you would any other torrent. (Do not confuse this with SEEDING the Torrent you uploaded.)
2A. As it is added to your Client, direct the Download Path to the File you uploaded. (NOT the .torrent you created or directory, but the actual file that you want to seed)
2B. If you are going to Seed a BATCHED file, direct the Download Path to the Folder you uploaded.
3. Afterward, when you are done click on 'Ok' and click on the newly added Torrent.
4. Right-click on the newly added torrent and click on 'Force Re-Check', this will scan your file to see if it is the same file.
5. When all is checked and the torrent reads 100%, you can now begin seeding the file.


 This topic is locked


 ) also, what are the typical upload speeds? i know it is different when the no. of peers connected changes.. my upload speed for the current torrent i am seeding (akb request hour 2014) is around 150kB/s and im connected to 7 peers.. is this normal? i would think so as compared to prior to port forwarding, i would only hit speeds at max 20kB/s